February 14, 2020 Update: I have since updated the finish of my rocker plate. It can be seen here: DIY Rocket Plate – V2
With the winter weather over the last couple months, I have been forced to ride indoors on my trainer, but the problem is that the most I can bear to ride is probably about an hour before my butt and seat becomes very uncomfortable. This is not an issue outdoors where I can ride for 2-3 hours without any issue.
In researching the problem, many people seem to think that the stationary locked-in bike position is to blame. On the road, you naturally move around and move side-to-side, but this can’t be done indoors. In doing some more research, I found one popular soltion is to build and use a rocker plate. One popular video details how to make a Rockit Launcher. There is a also a Facebook group called Rocker Plates that I joined and it also had lots of information on builds others had done.
After reading about various build in the Facebook group, I decided to build my own. I had two choices. I could go for a rear only or a full length rocker plate. I opted to build a full length one.
For the pivot point, there were two popular options:
- Vibration isolation mounts
- Axle and pillow bearings
I opted to go with the isolation mounts. They seemed to be quite popular, they would be cheaper than buying an axle and bearings, and they just looked easier to install.
For the cushioning on either side, the popular choices were:
- Wheelbarrow 10″ tubes
- 5″ playground rubber balls
I originally bought a couple of the wheelbarrow tubes, but after more digging, I got the playground balls based on advice in the group
I’ll list the actual parts I used, including links where available, and then document the build process. My rocker plates was built for my Tacx Vortex trainer. I built it large enough so that it should work if I get a different trainer later, but the part that is unique to my trainer is how I attach it to the rocker plate. If you have a different model trainer, you will need to figure out the best way to secure it.
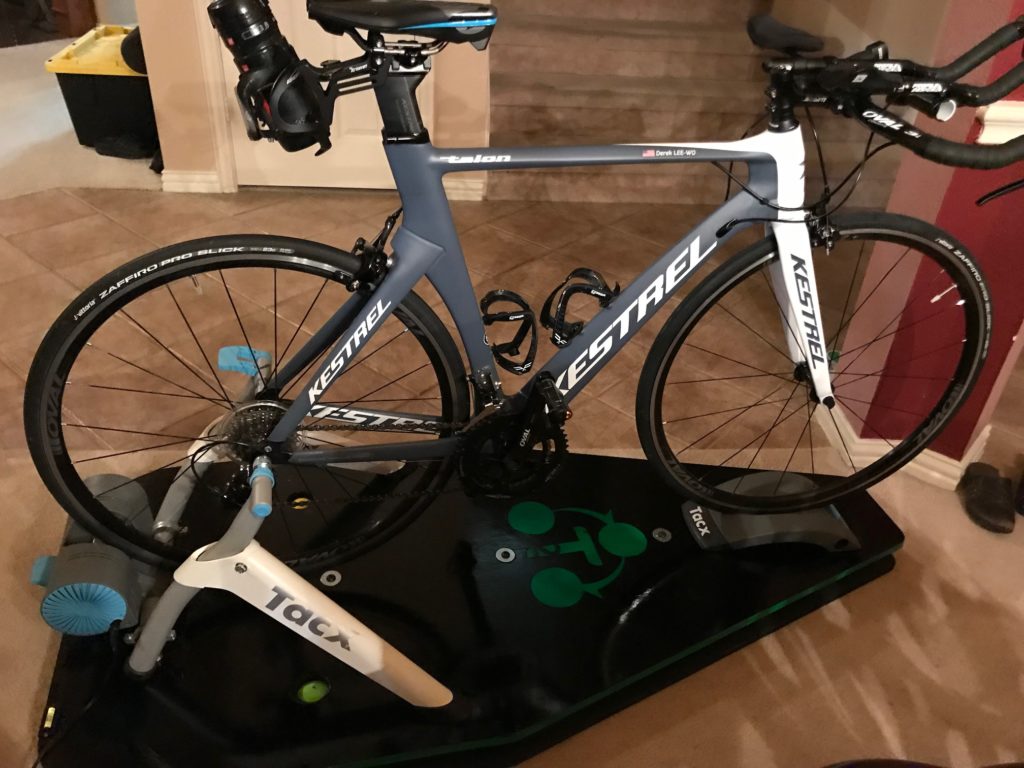
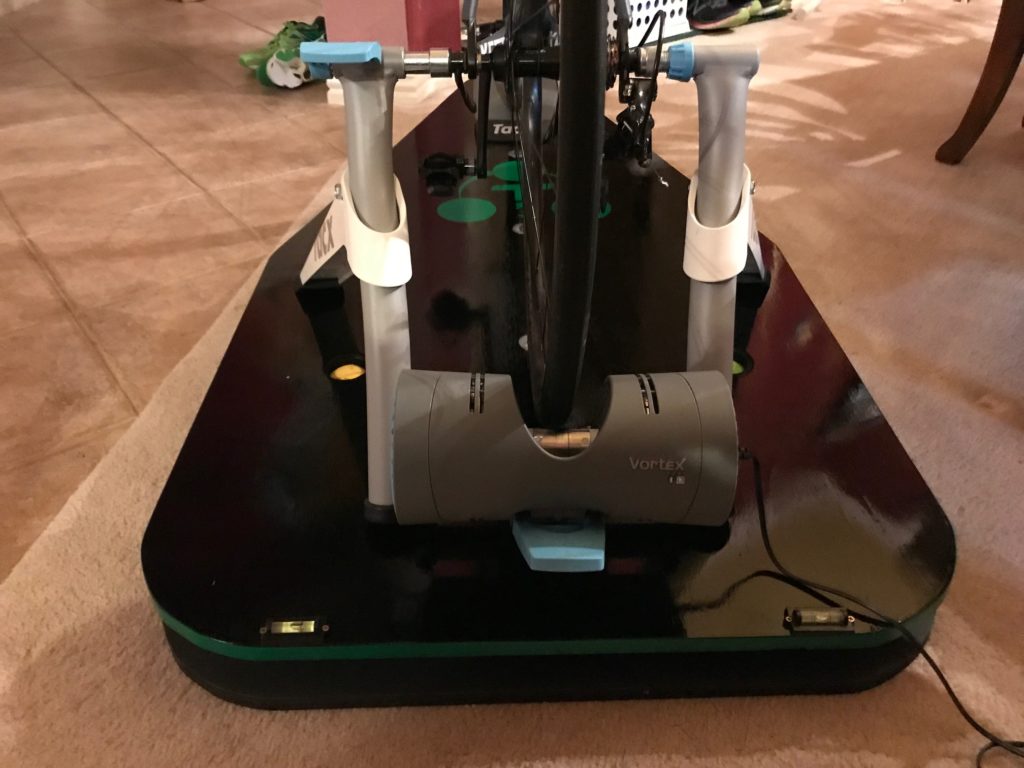
Here is the finished rocker plate:
Parts List
The washers, nuts, and bolts can be easily found at your local hardware store.
Build Process
CAD Drawing and Plywood Cutting
The first step was to figure out the dimensions I needed and how to cut it out of the sheet of plywood. I’ve never used any sort of CAD software, but I gave it a shot anyway and I found an iOS app for my iPad that was simple enough to figure out. I ended up creating the following CAD drawing:
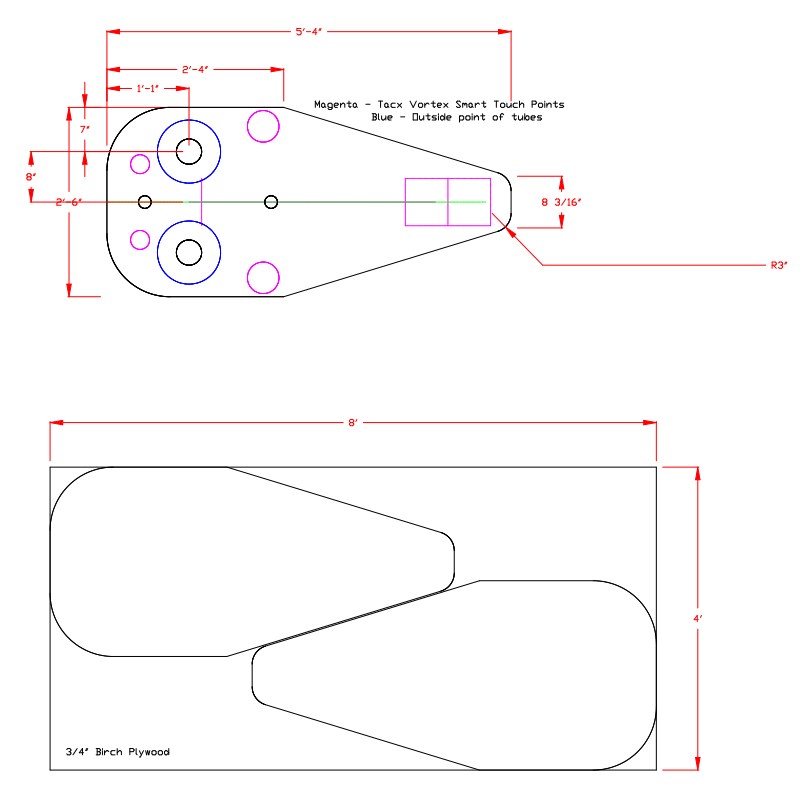
This helped ensure I can get the top and bottom of the rocket plate out of a single sheet of plywood and also that my trainer would fit.
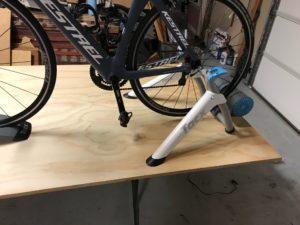
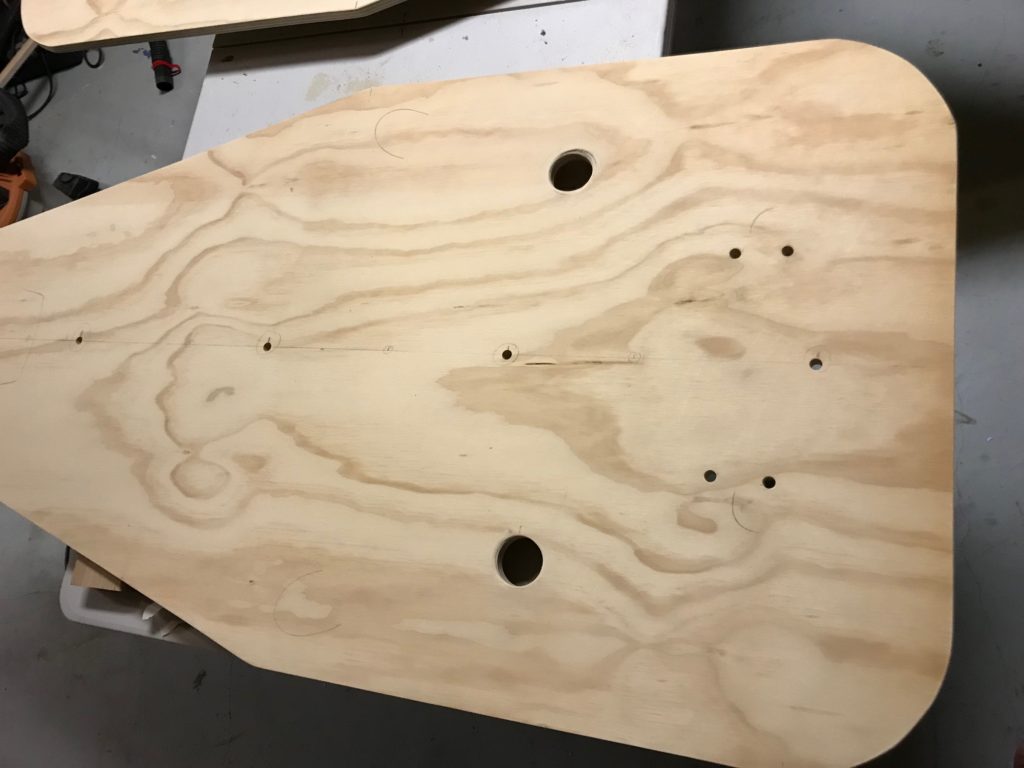
With the measurements, I marked off the outline on a sheet of plywood and then placed my bike and trainer on it before cutting just to double check it was all good.
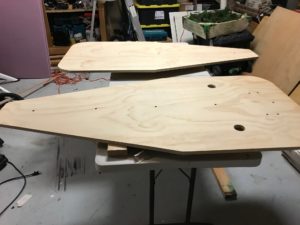
To cut the plates, they were rough cut first and then the two pieces were clamped together and the final shape cut through both boards at the same time to ensure they matched.
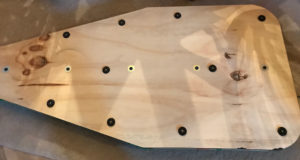
After the plates were cut, and while still clamped, the 5 holes for the isolation mounts were drilled so again they matched on both sides. The holes were drilled 13″ apart.
The boards were then unclamped and the two 2″ holes for the balls were drilled.
Logo
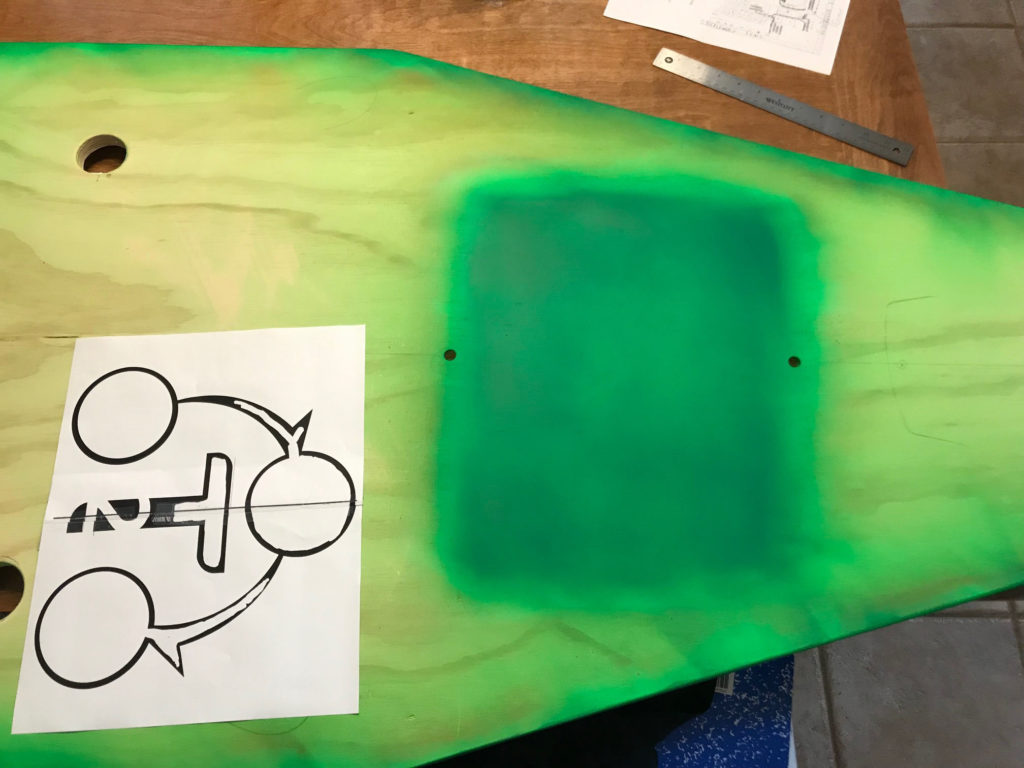
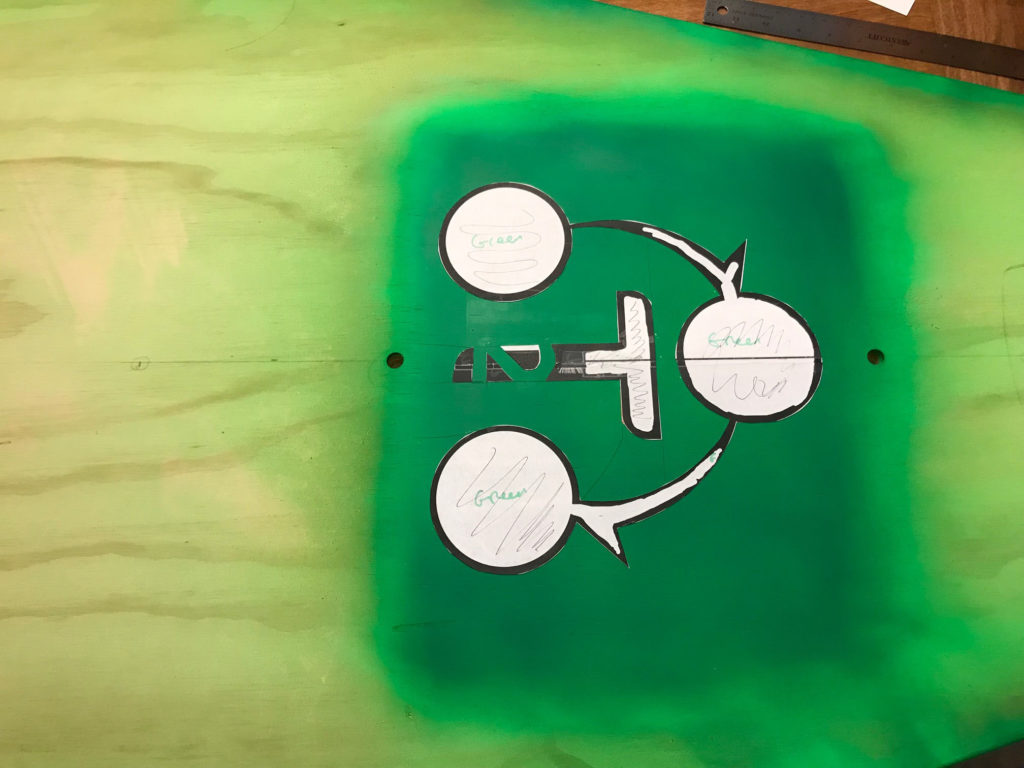
I wanted my rocker plate to look nice, but I also wanted to put my blog logo on it. To do this, I first had to make a print out of the logo in the size that I wanted it. I then painted the area where the logo would go in fluorescent green. This took a few coats to get it the way I wanted.
The next step was to cover the green paint with painters masking tape
The printout of the logo was then stuck to the masking tape with spray adhesive.
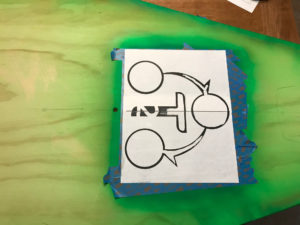
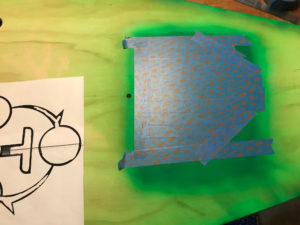
At this point, I depended on my wife who has much finer motor skills (and patience) than me. She used an exacto knife to carefully cut out the design and remove all the excess painters tape. Once done, only the logo was covered
Painting
The next step was to paint the rocker plate. For the bottom plate, I just used flat black paint.
For the edge, I painted that in the same fluorescent green paint as the logo. After a couple coats and once dry, I masked that off also.
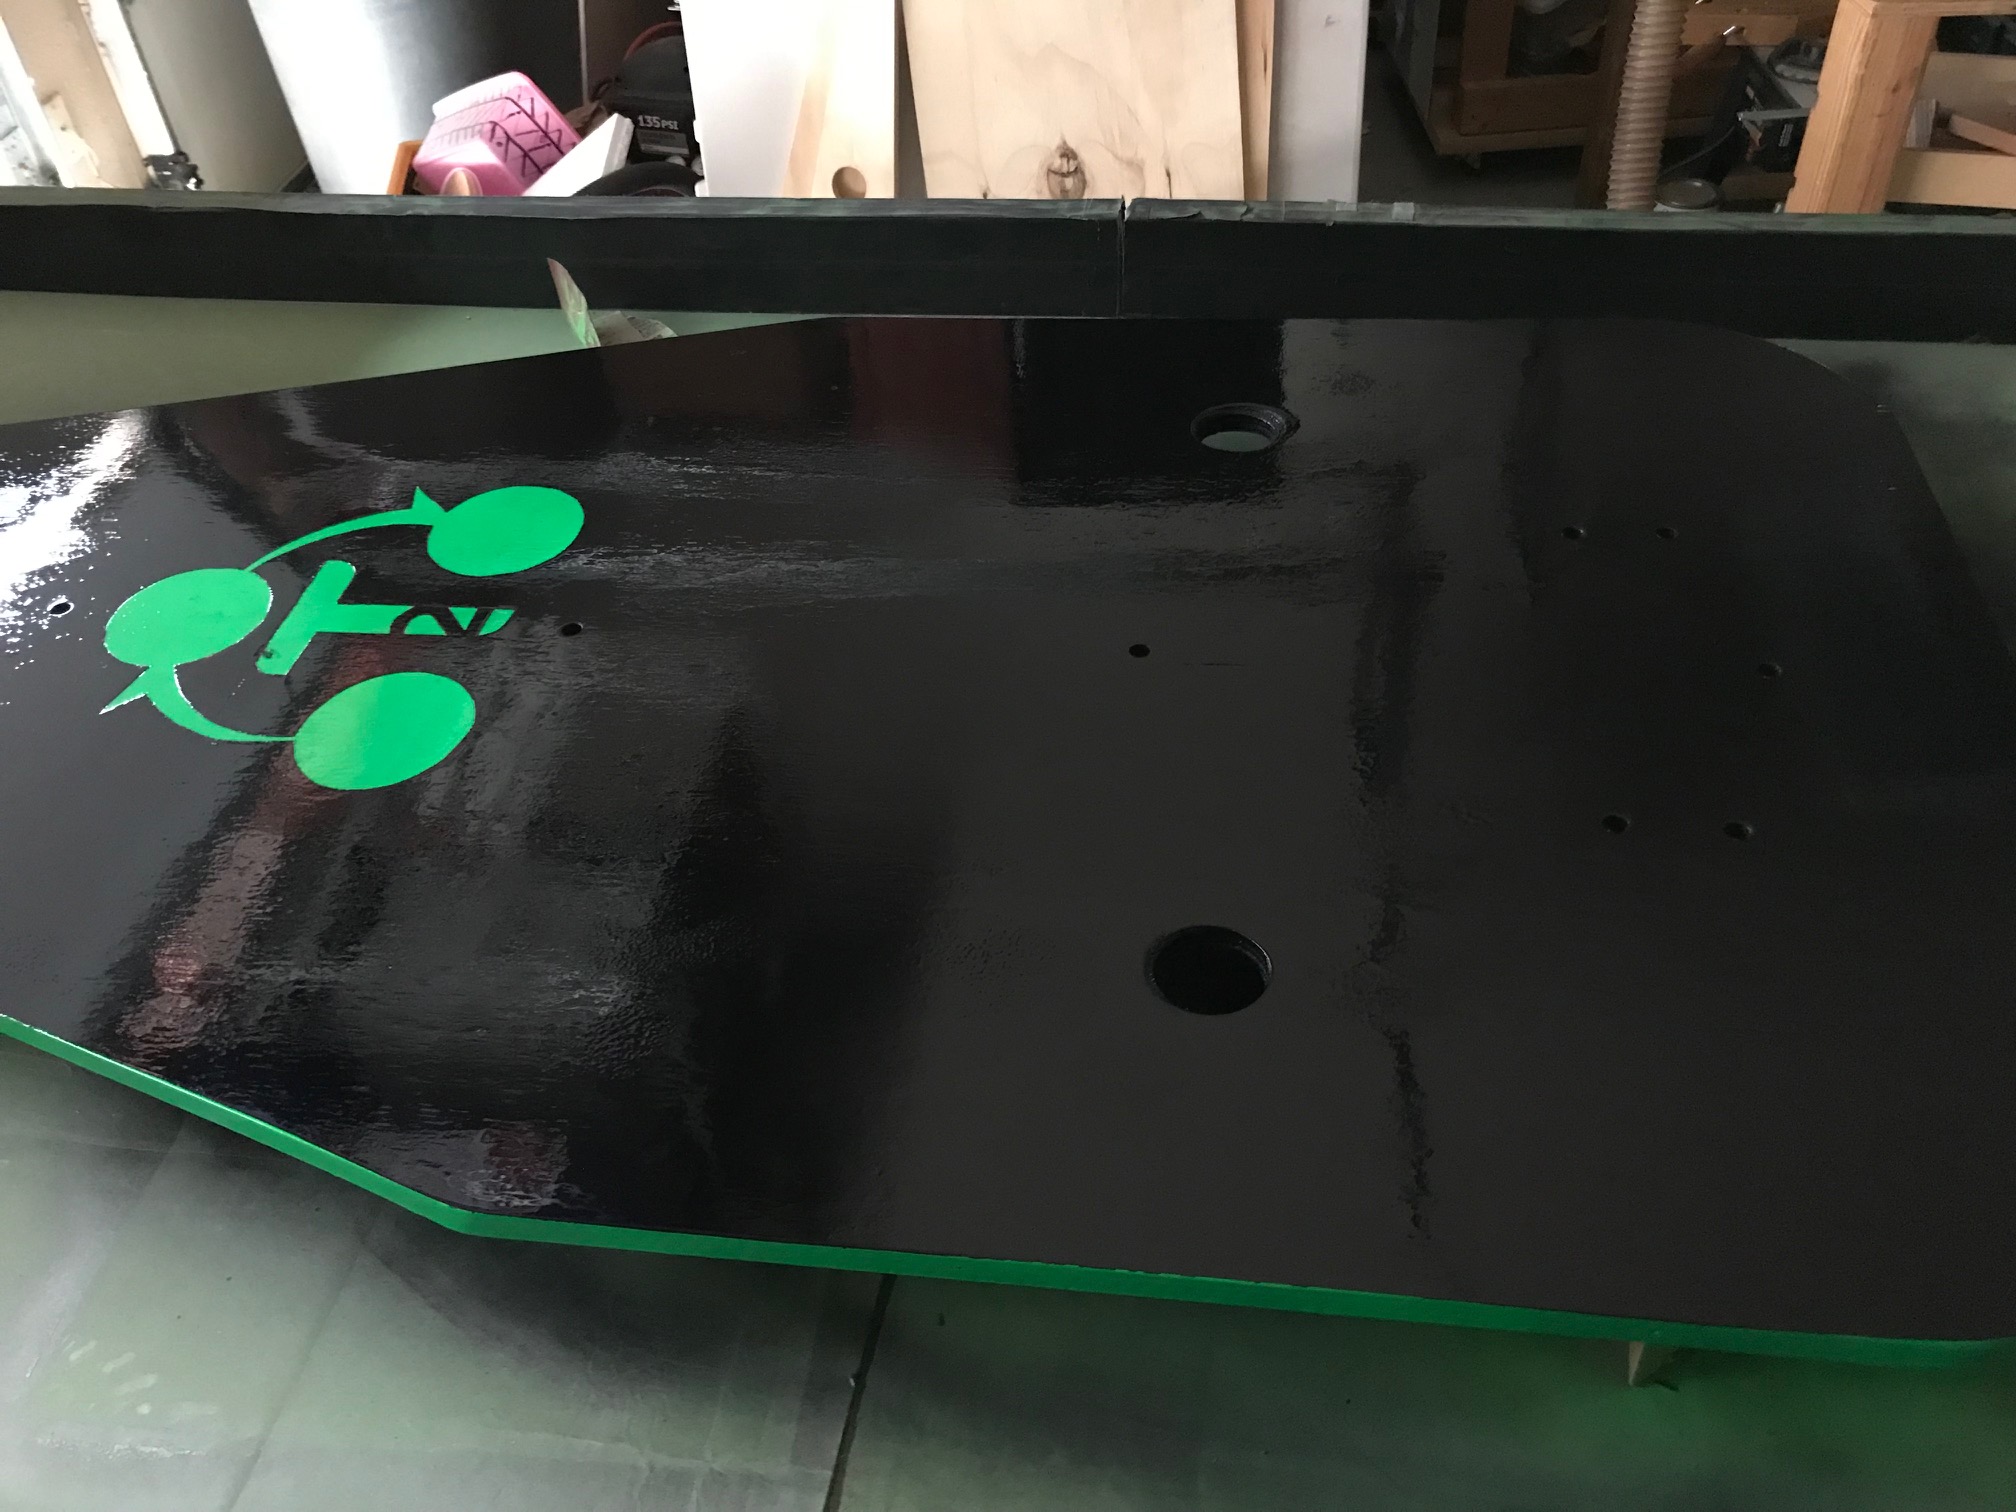
Then I sprayed the entire top using Rust-Oleum Gloss Black Lacquer spray paint. I ended up using two cans to get a couple coats. Once that was done, I noticed it didn’t have the high-gloss I was looking for throughout the entire board. Some parts were glossy, but others were flat.
So, I removed the logo and edge masking and coated the entire top in a layer of the Triple Thick Glaze. Once dry, that gave me the finish I was looking for
Assembly
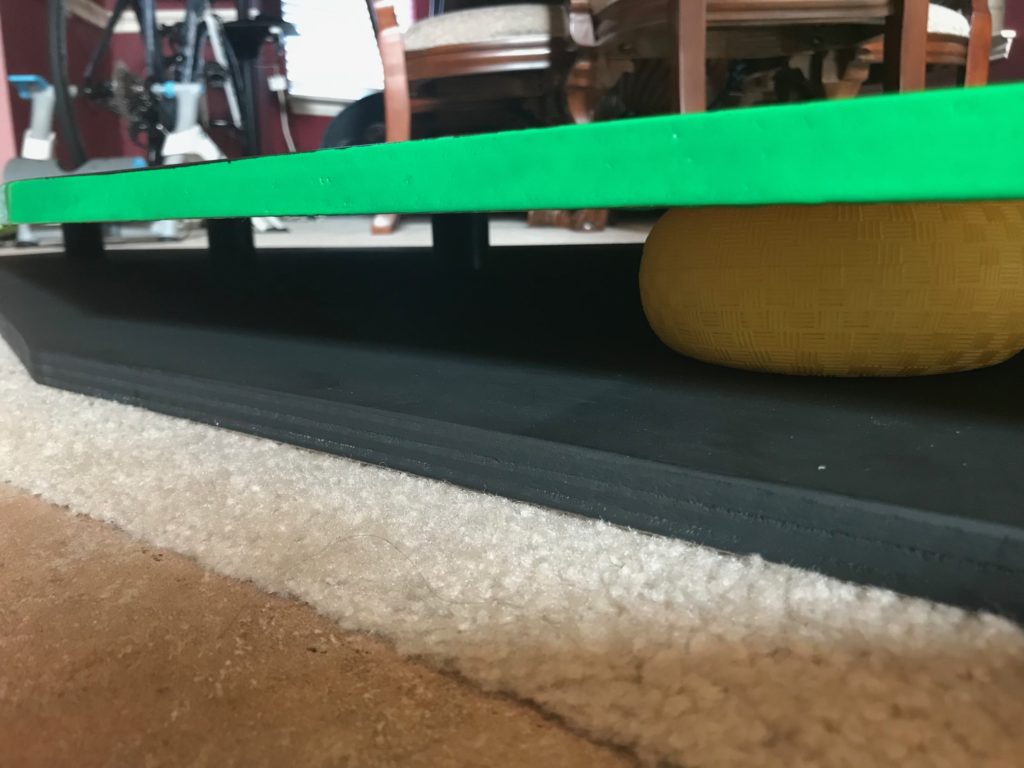
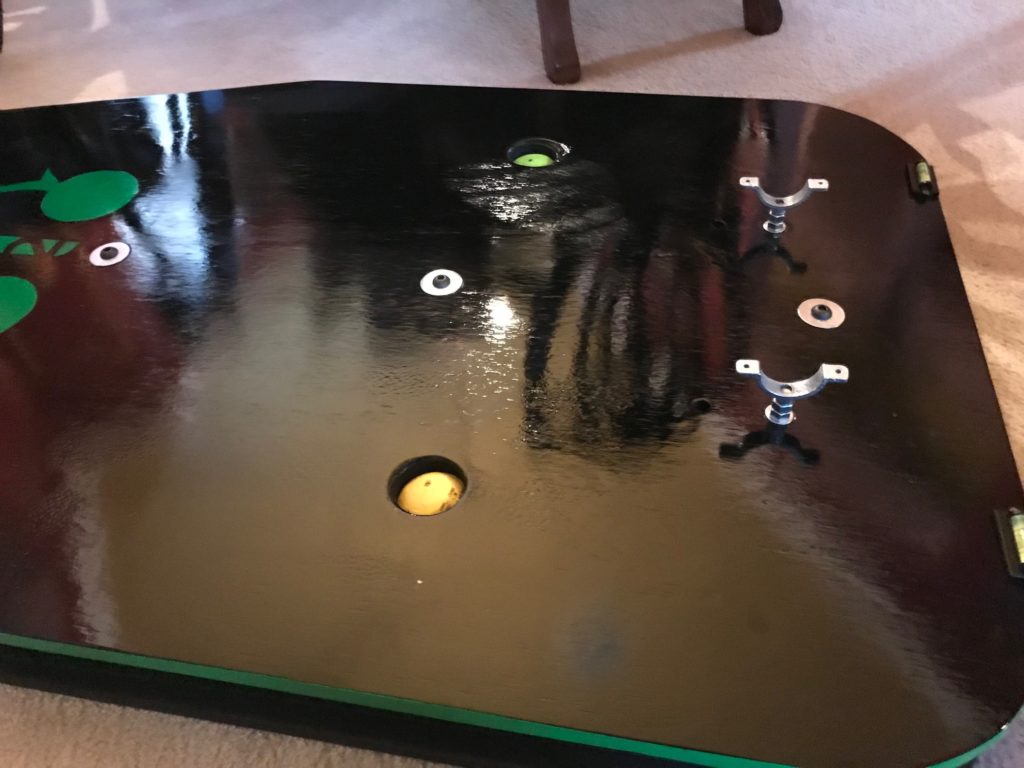
The top and bottom plates were attached with the isolation mounts between them. Fender washers were used for the bolts.
The 12 rubber feet were attached. Ten were along the edges and I placed a couple in the middle.
The balls were placed between the plates and inflated. I still have experiment with the amount of pressure I want
The split ring hangers were then installed. It took some experimenting with washers and nuts to get the right height for my trainer
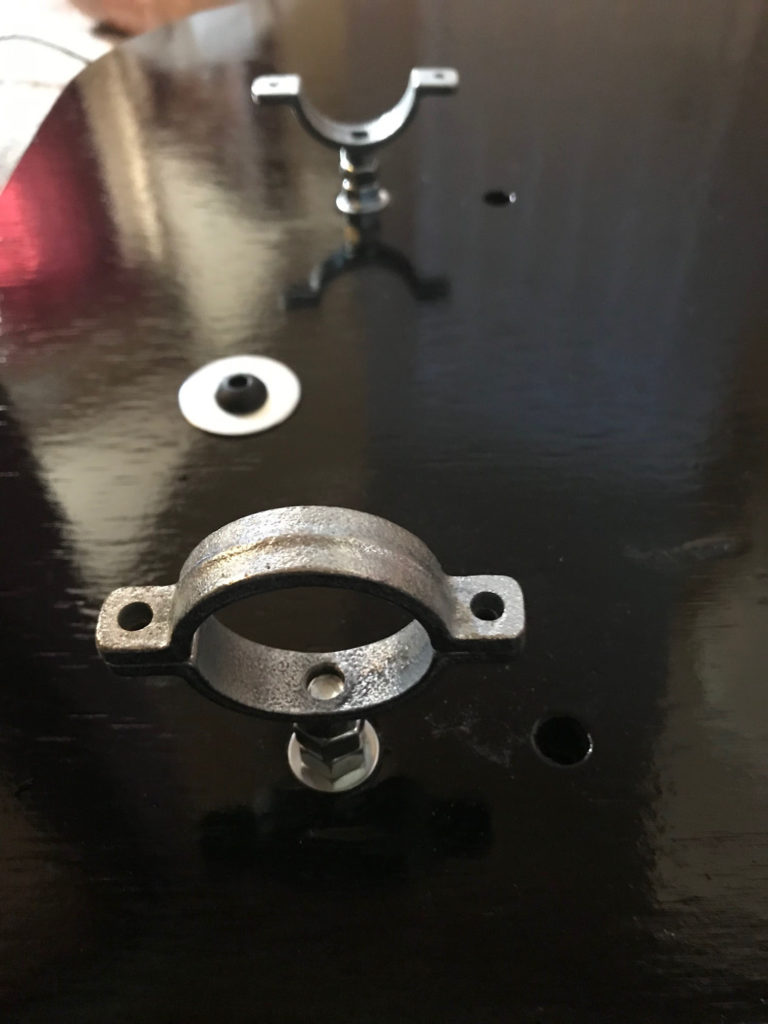
The spirit levels were screwed in and the trainer clamped in space with some rubber inside of the split ring hangers.
The next step is to experiment wit h the air pressure in the balls. I’ll be using if for my next rid eon Monday